
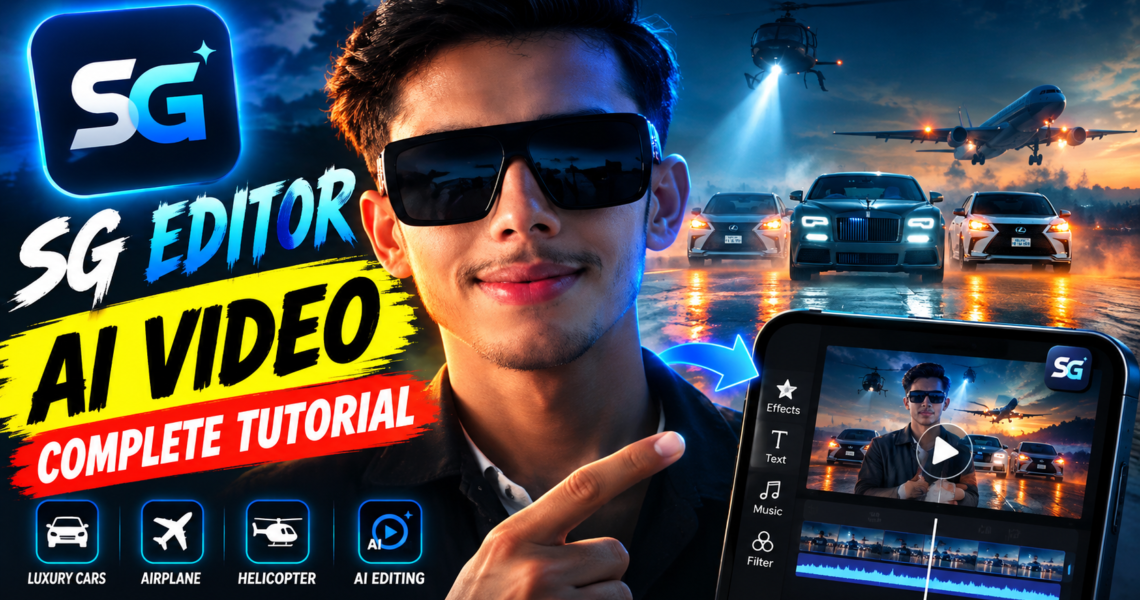
I recently came across those AI videos where a normal person suddenly appears next to a luxury car, walks through an airport, sits inside a private jet, and then ends up in a completely different cinematic scene. The interesting part is that the video looks like it was professionally filmed, even though the original footage can be very simple.
I wanted to try the same style myself, especially the videos where the SG Editor AI video effect makes the person appear with luxury cars and airplanes. The first few attempts were not perfect. Sometimes the face changed slightly, the body movement looked strange, or the transition between scenes was too obvious.
After testing different images, prompts, camera movements, and editing methods, I found a much easier workflow.
In this guide, I’ll explain how to create this type of AI video step by step, including how to prepare your photo, create the luxury scenes, make the video look more realistic, and combine everything into a final show-style edit.
What Is the SG Editor AI Video Trend?
The SG Editor AI video trend is based on AI-generated or AI-edited video scenes. Instead of recording yourself beside an expensive car or inside an airplane, you can use an image or short video of yourself and create a new cinematic environment around it.
For example, your video can start with you standing normally.
Then the scene can change to:
- Walking toward a luxury car
- Standing beside a sports car
- Getting out of a premium SUV
- Walking through a private airport
- Sitting inside a private jet
- Walking beside an airplane
- Entering a luxury hotel
- Appearing in a cinematic showroom
- Moving from one luxury scene to another
The important thing is that the AI should maintain your identity and create believable movement.
What You Need Before Starting
You don’t need an expensive camera setup for this type of video.
A simple smartphone photo can work, but the quality of your starting image makes a big difference.
I recommend preparing:
- One clear portrait or full-body photo
- Good lighting
- A simple background
- A modern smartphone
- An AI image/video generation tool
- SG Editor or your preferred editing app
- Optional background music
If you’re using your own photo, choose one where your face is clearly visible. Avoid sunglasses, heavy shadows, extreme filters, or blurry images.
For a full-body luxury car scene, a full-body photo is usually easier to work with than a tightly cropped selfie.
Step 1: Choose the Right Photo
This is where I made one of my first mistakes.
I initially used a heavily edited selfie. The AI had difficulty maintaining the face when I tried to turn it into a full-body cinematic scene.
A better option is a natural photograph.
Try to use a photo with:
- Clear facial details
- Natural skin texture
- Good lighting
- Sharp focus
- A visible hairstyle
- Natural clothing
- Minimal beauty filters
If your final video is going to be vertical, a portrait-oriented source image can also make the process easier.
For social media, I normally recommend creating the final video in 9:16 because it works well for TikTok, Instagram Reels, and YouTube Shorts.
Step 2: Create the Luxury Car Scene
Now comes the fun part.
Take your image into the AI tool you’re using and create a cinematic luxury-car scene.
Instead of simply writing:
“Put me beside a luxury car.”
Use a more detailed description.
For example:
Prompt:
Create a highly realistic cinematic video of the person from the reference image standing beside a premium luxury sports car outside a modern luxury hotel at night. Preserve the person’s facial identity, hairstyle, skin tone, clothing style, and natural body proportions. The person slowly walks toward the car while the camera smoothly moves backward. Realistic lighting, natural shadows, realistic reflections on the car, cinematic depth of field, professional commercial-style footage, realistic human movement, no extra people, no text, no watermark.
The important part is describing the movement, not just the environment.
AI video generators need to understand what should happen during the clip.
Step 3: Create a Walking Scene
For the next scene, you can make the person walk toward the camera.
This gives the video a more professional commercial feeling.
A useful prompt would be:
Create a realistic cinematic video using the reference person. The person walks confidently toward the camera in front of a luxury vehicle. Maintain the same face, hairstyle, clothing, and body proportions throughout the video. Smooth natural walking motion, realistic hands and feet, subtle camera movement, cinematic lighting, realistic shadows, premium commercial advertisement style, highly detailed environment, no additional people.
Keep the movement relatively simple.
One thing I noticed during testing is that complicated actions often create more AI mistakes. If you ask the character to walk, open a car door, sit down, start the car, wave, and look at the camera in one short clip, the results can become inconsistent.
Simple movements generally produce cleaner results.
Step 4: Create the Airplane Scene
After creating the luxury car shots, you can create an airplane scene.
This is where the video starts feeling more like a cinematic lifestyle advertisement.
For example:
Create a highly realistic cinematic scene using the person from the reference image. The person is walking toward a private jet at a luxury airport during golden hour. Preserve the person’s exact facial identity, hairstyle, skin tone, clothing appearance, and natural proportions. The person walks naturally toward the aircraft while the camera follows from behind and slightly to the side. Realistic airport environment, detailed private jet, natural sunlight, realistic shadows, cinematic depth of field, professional travel commercial style, smooth camera movement, no extra people, no text, no watermark.
You can also create a scene where the person is already inside the airplane.
For example, the person could sit beside the airplane window while the camera slowly moves toward them.
That type of shot works particularly well between two outdoor scenes.
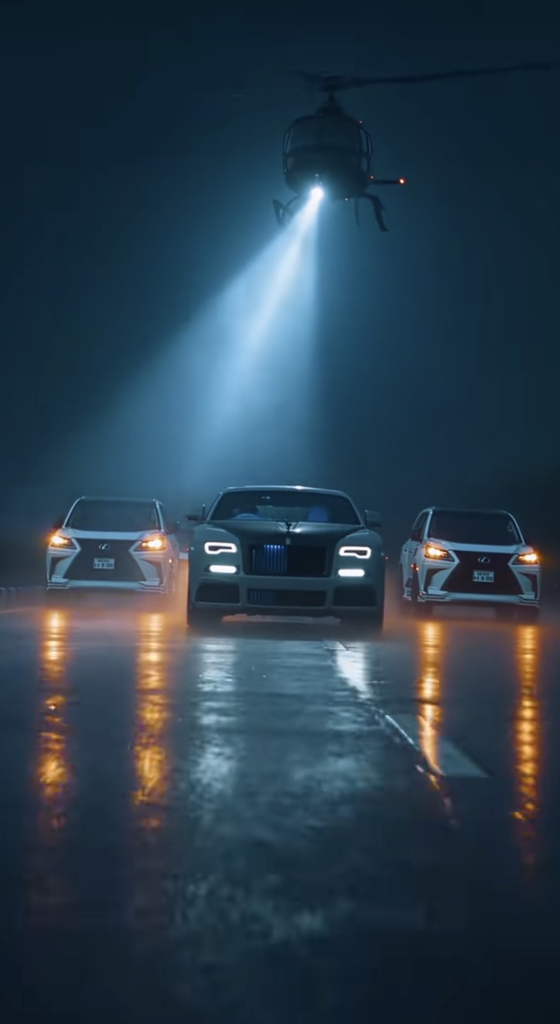
Ultra-cinematic 4K vertical video, 9:16 aspect ratio, 10 seconds total, hyper-realistic photographic render, moody blue-teal and warm amber color grade, wet reflective surfaces, cinematic rain, dramatic helicopter spotlight beams cutting through mist, shallow depth of field, anamorphic lens flares, fast professional cuts synced to a dramatic Bollywood-style orchestral/trap hybrid score, slow-motion ramp on the final hero beat, consistent character identity and outfit continuity across all shots, luxury/power/prestige mood throughout. SHOT 1 — Convoy Arrival (0:00–0:04) Wide low-angle tracking shot on a rain-soaked highway at night. A jet-black @Image 1[6a93e52280c8b6a5312a4842]Mansory-edition Rolls-Royce leads the convoy, flanked by two white @Image 2[6a93e52222d3ec0affe1213f]Lexus LX600 SUVs. Helicopter hovers above, spotlight sweeping across the convoy, rotor wash rippling the rain. Wet asphalt reflects red taillights and streetlights. Camera does a fast dramatic push-in as the convoy approaches. SHOT 2 — Driver Reveal (0:04–0:06) Close-up shot inside the Rolls-Royce, @Image 3[6a8b2a0c8b86c362984bce67]driver's face clearly visible with accurate, unaltered facial features — no face swap, natural skin detail preserved. Black sunglasses, calm powerful expression, faint smirk. Rain streaks down the window, ambient blue dashboard light flickers across his face. SHOT 3 — Arrival / Hero Exit (0:06–0:10) Bodyguard opens a large black umbrella as the man steps out of the Rolls-Royce in a sharp white three-piece suit, black sunglasses, gold Rolex catching the light. Two muscular bodyguards in black tactical suits, faces masked, flank him. Background: massive luxury Indian farmhouse mansion, warm golden window lighting against the cold blue night. Slow-motion ramp on final freeze-hero-frame: man centered in front of the Rolls-Royce, bodyguards flanking, helicopter light above, rain falling, mansion glowing behind — title card style final beat. TECHNICAL PARAMETERS TO SET IN SEEDANCE 2.0 Resolution: 4K (3840×2160 rendered, cropped/composed for 9:16) Aspect Ratio: 9:16 Duration: 10 seconds Frame Rate: 24fps base, 60fps for the slow-motion final beat Motion: Fast cuts, cinematic camera moves (push-in, tracking, low-angle) Consistency: Lock character face/identity and outfit across all shots for continuity Lighting: Moody night, cloudy sky, rain, helicopter spotlight, neon reflections Color Grade: Teal-blue shadows, warm amber highlights, high contrast cinematic look
Step 5: Make the AI Scenes Look Like One Video
This was another lesson I learned.
Creating several good-looking clips doesn’t automatically mean they’ll look like one good video.
The character may suddenly change clothes, the lighting can become different, or the face can look slightly different from one clip to another.
To reduce this problem, keep important details consistent.
Use the same:
- Reference photo
- Clothing
- Hairstyle
- General appearance
- Face description
- Lighting style
- Video aspect ratio
If the first scene shows you wearing a black jacket, don’t suddenly generate the next scene with a white shirt unless the clothing change is intentional.
Step 6: Bring Everything Into SG Editor
Once you have your AI-generated clips, open SG Editor and start a new project.
Import the clips in the order you want.
For example:
Scene 1: Person appears in a normal location
Scene 2: Luxury car arrival
Scene 3: Walking beside the car
Scene 4: Transition to airport
Scene 5: Walking toward private jet
Scene 6: Inside the airplane
Scene 7: Final luxury cinematic shot
You don’t need every scene to be long.
Short clips can actually make the edit feel faster and more professional.
Step 7: Use Smooth Transitions
Don’t overload the video with transitions.
When I first started making this style of edit, I used too many effects because I wanted the changes between scenes to